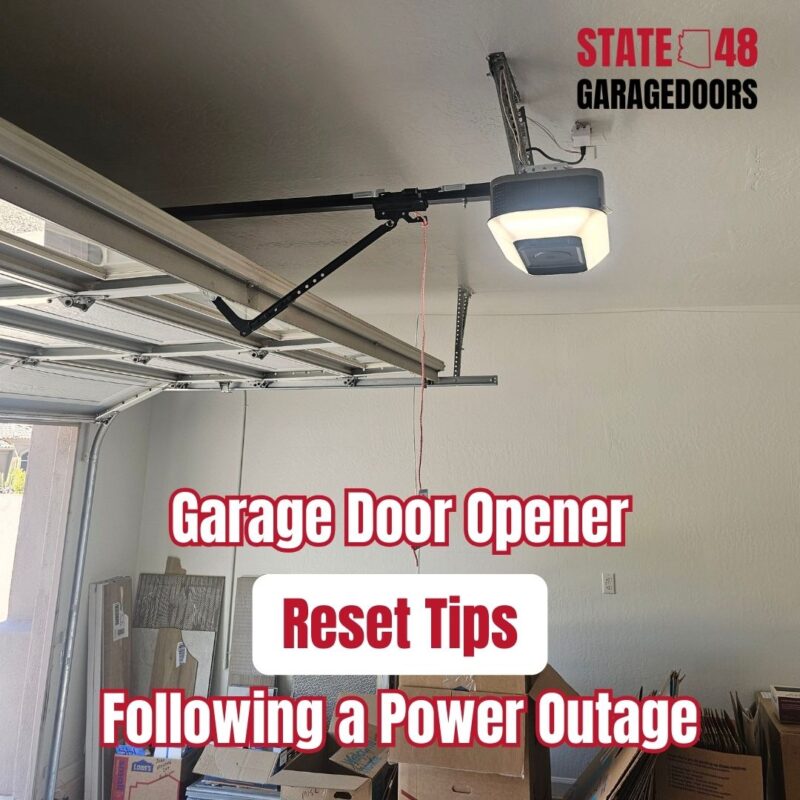
Garage Door Opener Reset Tips Following a Power Outage

How to Reset Your Garage Door Opener After a Power Outage
Power outages can disrupt your garage door opener’s functionality. This guide will show you how to reset your garage door opener after a power outage. You’ll learn to check your batteries, locate the motor unit, and reset the opener’s memory. By following these steps, you can quickly restore your garage door‘s operation and regain convenient access to your home.
Check Your Batteries Before Resetting

Before you start troubleshooting your garage door opener after a power outage, check the batteries in your remote control and keypad. Weak or dead batteries can mimic power outage symptoms, even when electricity has been restored.
To test your remote, try opening the garage door from different distances. If it only works when you’re close to the door, it’s likely time for new batteries. For keypads, look for dim or unresponsive buttons as signs of low battery power.
Replacing batteries is a simple task you can do without calling a professional. Here’s a quick guide to changing batteries in your garage door devices:
- Locate the battery compartment on your remote or keypad
- Remove the old batteries
- Insert new batteries, matching the positive and negative ends
- Test the device to ensure it’s working properly
- If issues persist, proceed with resetting your garage door opener
Locate Your Garage Door‘s Motor Unit

To reset your garage door opener, you first need to find its motor unit. This crucial component is typically on one side of the opener. Look for a cover protecting the motor, which you’ll need to gently swing down for access. Understanding your opener’s layout, similar to knowing where your modem, router, or breaker box is located, helps streamline the reset process.
Identify Which Side of the Opener Houses the Motor
You’ll find the motor unit on either the left or right side of your garage door opener. Look for a large box-like structure with a power cord. This component often includes a light and may have a radio receiver for your remote control. To protect against electrical surges, consider installing a surge protector near the motor unit. Remember, tampering with the motor might void your warranty, so consult your manual before making any changes. Here’s a quick guide to locating your motor unit:
- Stand inside your garage, facing the door
- Look up at the opener mechanism
- Identify the larger, box-shaped component on one side
- Check for a power cord and light fixture
- Ensure there’s a clear path to the motor for easy access
Gently Swing Down Any Cover Protecting Access to It
Once you’ve located the motor unit, gently swing down the protective cover to access the internal components. This cover safeguards the motor from dust and weather, ensuring smooth operation. Be careful not to apply too much force, as the cover might have a locking mechanism or adhesive seal. If you encounter resistance, check for any screws or clips holding it in place. Remember, proper access to the motor unit is crucial for resetting your garage door opener‘s communicationsystem and adjusting its settings, including the password if necessary.
Reset Your Motor’s Memory

After a power outage, resetting your garage door opener‘s memory is crucial. You’ll need to locate the proper buttons within the motor unit and observe LED light signals during the process. This step ensures your opener responds correctly to your remote and keypad. Understanding the feedback from your unit’s energysystem is key to a successful reset in the United States.
Locate and Identify Proper Buttons Within Motor Unit
Within your garage door opener‘s motor unit, you’ll find several buttons crucial for resetting. Look for a “Learn” or “Smart” button, often colored red or yellow. This button, typically found near the antennawire, is key for reprogramming your opener. As part of your home improvement efforts, familiarize yourself with these controls to reduce noise and maintain smooth operation. Keep an infrared remote handy as a tool for testing after the reset. Remember, a clean air filter in your garage can help protect these sensitive components.
Observe LED Light Signals During Process
During the reset process, keep an eye on the LED lights on your garage door opener. These lights act as your guide, indicating whether the reset is successful. You’ll typically see the LED blink or change color when you press the “Learn” button. This visual feedback is crucial for proper maintenance of your garage doorsystem. If you’re unsure about the light signals, consult your opener’s manual or consider calling a professional who can also check other metal components and plumbing in your garage.
How to Input Your New Code for Garage Door Opener Reset

After resetting your garage door opener, it’s time to input your new code. This step helps protect against wear and tear on your system and ensures smooth operation, even in extreme heat or cold. You’ll need to coordinate with a friend and monitor your device’s response during this process. Remember, a properly reset opener is crucial for the safety of your home, from the basement to the attic.
Coordinate With a Friend
Resetting your garage door opener is easier with a friend’s help. Ask them to stand near the door while you work on the motor unit. This way, you can quickly test if the new code works and avoid potential injury. If you have a Chamberlain LiftMaster Professional 1/2 HP, troubleshooting becomes simpler with an extra set of eyes. Your friend can press the button on the wall control panel or remote while you observe the opener’s response, ensuring customer satisfaction with the reset process.
Monitor Response From Device
After inputting your new code, closely watch your garage door‘s response. You should hear a click or see the door move slightly, indicating the rolling code has been accepted. If you’re replacing your garage door, ensure the new opener responds correctly to avoid issues with the circuit breaker. Remember, some modern openers use silicone components that may react differently to new codes. If the door doesn’t respond, double-check your input and try again.
Reconnect Remote Control to Opener

After resetting your garage door opener, you’ll need to reconnect your remote control. This step ensures your vehicle can smoothly enter and exit without friction. For garage door repair phoenix experts, this process is routine and helps maintain the electric system’s functionality.
Start by locating the “Learn” button on your opener unit. Press and release it quickly. You’ll see an indicator light activate. Within 30 seconds, press the button on your remote control. The opener’s light should blink, confirming the reconnection.
Test your remote by pressing the button while standing near your garage door. If it doesn’t work, repeat the process. For persistent issues, consider contacting a professional via email. They can diagnose and fix any electric problems affecting your opener’s performance.
FAQs in Relation to ResetGarage Door Code

After a power outage, you might need to reset your garage door code. This section covers key questions about resetting garage door openers, changing codes, and maintaining your keypad. Learn how power strips and wires affect your opener, and why checking your thermostat and ducts can impact your garage‘s overall function. We’ll guide you through the process, ensuring your garage door operates smoothly with proper lighting and security.
Resetting Your Garage Door Code: Yes, It’s Possible
You can reset your garage door code after a power outage, even if your computer is affected. Don’t let a flood or emergency situation leave you locked out. If you’re unsure how to proceed, contact customer service for guidance. They can walk you through the reset process, ensuring your garage door operates smoothly and securely.
Garage Door Openers: Do They Need to Be Reset?
You might need to reset your garage door opener after a power outage, especially if you’ve used a screwdriver for any recent repairs. During your next inspection, check if the remote control responds correctly. If not, a reset could solve the issue. This process doesn’t require advanced carpentry skills, and you can often complete it as quickly as a bathroom break. Remember, a properly functioning opener ensures smooth access to your garage, protecting your vehicles and belongings.
Changing Your Keypad Battery? Here’s What You Need to Know
Changing your garage doorkeypad battery is a simple task that can prevent issues with your opener. When replacing the battery, be careful not to disturb any electrical wiring or accidentally pull the emergency release rope. If you notice any problems with your garage door spring or fuse during this process, it’s best to call a professional. Remember, applying too much force when opening the battery compartment can damage the keypad, so handle it gently.
Conclusion
Resetting your garage door opener after a power outage is crucial for maintaining security and functionality. By following a systematic approach, including checking batteries, locating the motor unit, and resetting the system‘s memory, you can quickly restore your garage door‘s operation. This process not only ensures smooth access to your garage but also protects your home and vehicles from potential security risks. Understanding how to perform this reset empowers homeowners to address common issues independently, potentially saving time and money on unnecessary service calls.