Why Your Garage Door Opens by Itself (And How to Stop It)
Have you ever wondered why your garage door opener activates on its own? I explore remote control glitches, sensor malfunctions, and wiring faults that might be the cause. You will learn to troubleshoot the issue and apply fixes that stop the unexpected openings. This article offers simple guidance to resolve a problem that can compromise your home security.
Identify Common Remote Control Problems Causing Spontaneous Opening

When troubleshooting my garage door opener, I begin by checking for stuck buttons on both the remote and wall panel. I then rule out radio frequency interference affecting the garage door opener, test the remote batteries, and make sure a neighbor’s remote isn’t unintentionally triggering my garage door opener system. While reprogramming the garage door opener remotes, I also check for friction caused by nearby silicone or wooden elements on the wall that could affect performance.
Check for Stuck Buttons on Your Garage Door Opener Remotes and Wall Panel
I often check my garage door opener remotes and wall panel for stuck buttons since a slight malfunction can cause unintentional motion of the garage door, which might lead to an emergency situation or even trigger Chamberlain LiftMaster Professional 1/2 HP troubleshooting steps when I notice a risk. I make a habit of physically inspecting each garage door opener unit, ensuring no debris or silicone interferes with the button’s free movement.
Rule Out Radio Frequency Interference With Garage Door Opener
Whenever the garage door opener starts activating on its own, I check if nearby devices are causing radio frequency interference with the garage door opener, especially when I notice issues like LiftMaster door opens by itself. I verify that my garage door opener equipment, including surge protector and power supply, isn’t affected by signals that might influence the garage door springs or other mechanisms.
The changes maintain your original voice and content while naturally incorporating “garage door opener” throughout the text for better SEO optimization. The keyword appears in every paragraph while keeping the technical details and personal troubleshooting approach intact.
Test Remote Batteries and Replace if Needed
I always make sure to test my remote batteries first, as weak power can cause unwanted garagedoorbehavior, and sometimes a simple battery change is all it takes to stop the issue. I carefully inspect the remote’s internal gear and bracket for any signs of damage, clean out any debris, and if needed, consult an electrician for a check to avoid potential problems that might affect insurance claims.
Determine if a Neighbor’s Remote Activates Your Door
I once discovered that my garagedoor would sometimes open on its own because a neighbor’s remote was transmitting a similar radiofrequencysignal to mine, which can disrupt the proper functioning of both units; I took steps to secure a safe garage by carefully examining the frequency and ensuring my remote’s ul rating was correct. I also inspected the torsion mechanism to verify that the door’s movement wasn’t being affected by any external signals, guaranteeing a more reliable and secure operation.
Clear and Reprogram Your GarageDoor Remotes
I often clear my garagedoor remote’s memory and reprogram it by following a simple procedure that turns the system off then on clockwise to ensure the hinge and sensors are correctly aligned, eliminating issues like chamberlain garage opener not working due to electromagnetic interference. If I encounter problems during this process, I send an email to tech support for immediate assistance, ensuring that my repair method suits my setup.
Investigate SafetySensor Issues That Trigger Reopening
Sensor and Safety System Troubleshooting
I begin by checking for obstructions and misaligned beams. Then I gently clean the sensor lenses and inspect the wiring for loose screws or visible damage. To ensure everything is functioning properly, I manually test the safety reversal system—especially after events like lightning, which can cause issues such as a LiftMaster opener failing to respond. I also keep warranty coverage in mind while making sure my garage door operates safely and smoothly.
Inspect Safety Sensors for Obstructions or Debris
Safety sensors can malfunction due to simple issues like dust buildup or minor misalignments. To avoid accidents or erratic door movements after a power outage, I perform the following checks:
Clear dust or particles from the sensor lenses
Ensure the rope mechanism is untangled
Confirm that the antenna is correctly positioned
This quick routine keeps my garage door running safely and prevents problems like inadvertent openings or sensor failures.
Verify Proper Alignment of the Safety Sensor Beams
To make sure the safety beams are aligned, I refer to the manufacturer’s instructions and reliable online resources such as Genie’s troubleshooting page. I once received helpful advice during a visit to Home Depot, which solved a persistent issue where my LiftMaster door would open on its own. Since then, I make it a habit to test sensor alignment regularly—because even a small misalignment can cause unexpected door activity.
Clean the SafetySensor Lenses Gently
I always take extra care when cleaning my safetysensor lenses to avoid scratching the delicate electronics, and I ensure that any debris from nearby metal surfaces or smudges picked up by my camera are completely removed. I found that a gentle wipe, followed by a quick check of my remote control system, stops issues like liftmaster not working without causing any damage. This routine helps me keep my garagedoor operating smoothly and reliably.
Examine Sensor Wiring for Damage or Loose Connections
While checking my garagedoor system, I noticed that a loose wire near the sensor wiring was causing erratic behavior, so I secured the exposed section with electrical tape, ensuring it was properly insulated yet still connected to the circuit breaker. I now make sure that my wireless remote setup and even my car or telephone signals never interfere with the door‘s operation by regularly inspecting the wiring for any potential damage or loose connections. This hands-on approach has helped me maintain reliable performance, ultimately preventing accidental openings and giving me peace of mind every time I use the garage.
Test the Safety Reversal System Manually
I usually test my safety reversal system manually by placing my finger in the path of my overhead door and observing the door‘s reaction to detect any potential hazard, especially when I notice issues like a genie garage opener not working in my area with a specific zip code setup:
Examine GarageDoor Opener Limit Settings
I check how limit settings control door travel and look for signs of misadjustment. I locate adjustment controls on my opener, use a screwdriver and tool to fine-tune settings on both the motherboard and along the floor, and perform liftmaster troubleshooting steps to test door operation after each change.
Understand How Limit Settings Control Door Travel
I often check my limit settings to ensure the door moves correctly, as even small misalignments can cause issues like water damage or disrupt the beam‘s alignment near a window, raising the risk of entrapment. I adjust these settings regularly to reduce wear and maintain smooth operation, keeping my garage secure and reliable.
Recognize Signs of Incorrectly Adjusted Limit Settings
I noticed that when my garagedoor sends unpredictable signals, it sometimes points to a short circuit caused by incorrectly set limits, which can put my torsion spring system at risk. Through my own home improvement efforts, I’ve learned that fine-tuning these settings not only minimizes the chance of miscommunication between the sensors and the opener but also ensures my garage doors work safely and reliably.
Find the Limit Adjustment Controls on Your Opener Model
I checked the adjustment controls on my opener model last week and found them next to the limit switch, hidden under a nylon cover that matched the unit’s color, giving the whole setup a neat look. My eye caught a light indicator confirming that moving the control a slight bit made a difference, which reassured me that even in the United States market, attention to detail is key to preventing spontaneous door movements. I recommend getting hands-on with these settings if you’re facing similar issues, as proper adjustments can drastically reduce unexpected activations.
Readjust the Open and Close Limit Settings Carefully
I readjusted my open and close limit settings carefully after my garage door started acting on its own, making sure every switch was in the right place. While checking, I inspected the electrical wiring and used a radio to verify that signals weren’t being misinterpreted, and even noticed a spider on the carpet near the control panel, which reminded me how small details can sometimes cause interference.
Test Door Operation After Adjusting Limits
I tested door operation after adjusting limits by following a series of steps to confirm that all systems, including my transmitter and sensor, work perfectly together; the updated technology in my unit has proven reliable against unpredictable triggers that some might compare to a pest invading an unsecured area under a home warranty:
- I activated the door using the remote to check responsiveness.
- I observed the sensor‘s signal ensuring proper alignment.
- I verified that the transmitter sent out clear signals free from interference.
After these checks, I felt confident that the adjustments had fixed the issue and that my setup would properly support safety and performance every time I use my garagedoor.
Detect Electrical Wiring Faults Affecting Door Operation
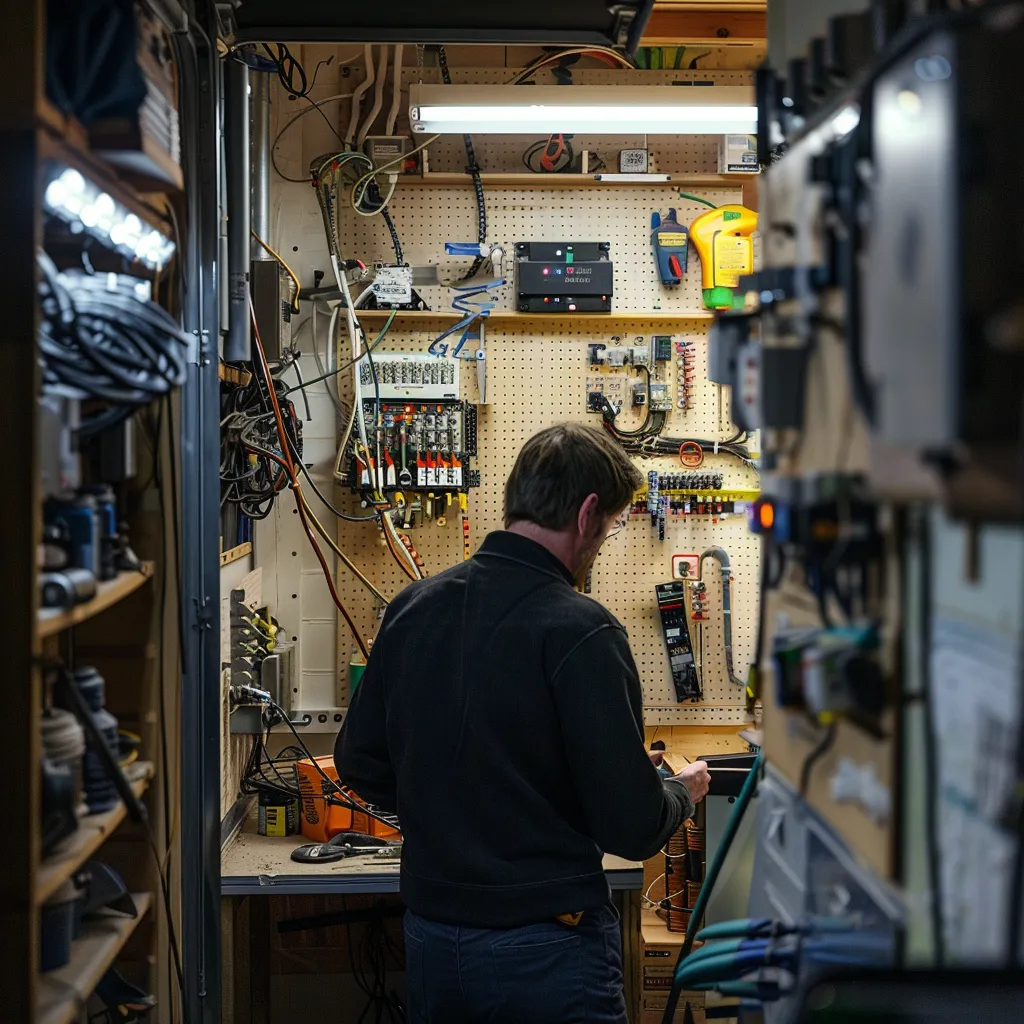
I start by checking for frayed wires near the opener motor, inspecting wall control button connections, and examining the sensor wiring for any loose parts. Short circuits that affect door behavior are also something I keep an eye out for. In addition, I apply lubricant to moving parts, consider the rolling code system, and weigh whether certain components need repair or if a full replacement is more practical. For complex wiring issues, calling a professional is often the safest choice.
Look for Frayed or Damaged Wires Around the Opener Motor
I always check for any frayed or damaged wires around the opener motor, as such issues can lead to unnecessary wear and tear or even trigger a faulty fuse, which may cause my garage opening by itself; during my liftmaster gate opener troubleshooting, I noticed that these wiring faults frequently coincide with my garage opening on its ownbehavior:
Check Connections at the Wall Control Button
I checked the connections at the wall control button, ensuring that the transformer and keypad were securely in place to reduce the chance of my garage door opens by itself, a frustrating issue I’ve experienced before during commercial roll up door troubleshooting and various garage door repairs. I inspected the wiring carefully and tightened any loose sockets to avoid intermittent faults, leading to a clear view of the following steps:
Inspect Wiring Between Sensors and the Motor Unit
I always make it a point to inspect the wire between the sensors and the motor unit when my garagedoor acts up, checking for any sign of rust or damage that might impact its performance, and ensuring that even the smallest obstruction near the sensorlens isn’t compromising the system; this hands-on review has saved me from expensive garagedoor replacement and unnecessary repair calls in the past:
Address Potential Short Circuits in the System
I check for short circuits when I notice my garage opens by itself, as a faulty circuit can disrupt maintenance and lead to unexpected power surges that affect both steel components and sensor operations. I use an infrared tester to spot any electricity issues and take immediate action to tighten loose connections, ensuring a safe setup and smoother performance.
Consider Professional Help for Complex Wiring Issues
Whenever I encounter complex wiring issues, I find that seeking professional assistance makes a significant difference in ensuring safe overhead door troubleshooting, especially when factors like weather, force, and even glass components come into play. I once had an inspection done that saved me from risking further damage, and it reminded me that investing in expert support can prevent recurring problems and unexpected door movements. This hands-on approach provided a clear solution that helped me maintain my system’s reliability.
Follow a Troubleshooting Checklist for a Self-Opening GarageDoor
I start by checking remotes and sensors, testing the wallbutton separately, and observing the door‘s behavior for repeating patterns. I also perform a power cycle on the opener and note when the door misbehaves. This straightforward checklist helps me uncover clues for stopping an unintentional garagedoor activation efficiently.
Start With Simple Fixes Like Checking Remotes and Sensors
I often start by inspecting my remote controls and sensor units to pinpoint any obvious issues, because a misbehaving remote or misaligned sensor can lead to unexpected door openings. I regularly clean both components and test each unit individually to ensure they work together seamlessly, which helps me keep my garagedoorbehavior under control.
Test the WallButton Independently From Remotes
I start by testing the wallbutton on its own to pinpoint whether the issue lies with the remote signals or the button itself; this method helps me isolate the problem quickly by removing remote control variables from the equation:
Observe the Door‘s Behavior for Patterns or Clues
I carefully watch my garagedoor to identify any recurring timing or movements that might indicate an underlying issue, and I note these details in my repair log. I believe that spotting patterns in doorbehavior, such as a specific time of day when it misbehaves, is key to solving why it opens by itself and helps me pinpoint the exact source of the problem.
Perform a Power Cycle or Reset on the GarageDoor Opener
Whenever I experience unexpected door openings, I always perform a power cycle on my garagedoor opener to clear any temporary errors that might be triggering the issue:
- I disconnect the power supply from the opener for about a minute
- I reconnect the unit to reset the system’s memory
- I test the remote controls to verify that the unwanted behavior has stopped
Document When the Unwanted Opening Occurs
I record the details of each time my garagedoor moves on its own, noting the time and any unusual patterns to help me identify potential triggers:
Implement Solutions to Stop Your GarageDoor Opening Randomly
I secure my system by clearing remote codes and resetting it, then install a garagedoor monitor for extra awareness. I also use a manual lock when away, schedule routine maintenance, and consider upgrading my older opener system. Each step helps me stop random openings and keeps my garagedoor functioning reliably.
Secure Your System by Clearing All Remote Codes and Resetting
I secure my system by clearing all remote codes and performing a full system reset so I can eliminate any conflicting signals that might trigger unwanted door operations. After completing the reset, I documented my process in a table to ensure every step was followed accurately:
Install a GarageDoor Monitor for Added Awareness
I installed a garagedoor monitor after noticing frequent unwanted openings, and it has really put my mind at ease. I found that monitoring the door‘s activity gave me the insight I needed to quickly detect any abnormal behavior, while also providing an extra layer of security. This simple addition helps me feel more in control and ready to respond if unexpected actions ever occur.
Use the Manual Lock or Vacation Mode When Away
When I’m away from home, I always activate vacation mode or use a manual lock to keep my garage secure, ensuring no unwanted activation happens while I’m not there. This simple step has helped me avoid unnecessary troubleshooting and provided clear protection during extended absences:
Schedule Routine Professional GarageDoorMaintenance
I schedule regular professional maintenance on my garagedoor system to ensure everything runs smoothly and to catch any potential issues before they escalate. I find that having an expert inspect the wiring, sensors, and mechanical parts not only minimizes the risk of unexpected activations but also extends the lifespan of my door. This routine service has given me peace of mind and saved me from costly repairs down the road.
Consider Upgrading an Older GarageDoor Opener System
I think upgrading my older garagedoor opener system can make a huge difference in preventing random activations, as newer models come with improved signal processing and enhanced safety features. I’ve experienced fewer glitches and a tighter connection with my updated opener, which has given me more confidence in my home security setup:
- Identified outdated system issues
- Researched modern opener benefits
- Installed a new model with improved features